 Home
Home


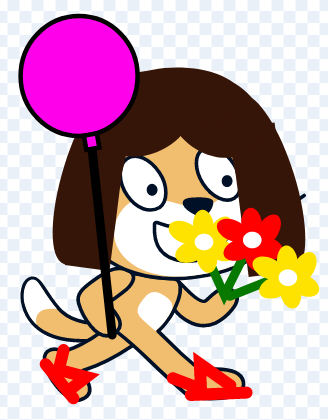
This guide will show you how to use the graphic editor of Scratch in vector mode. It is easy, and makes drawing very simple. You can find the images of this guide in this Scratch project:
If you haven't tried Scratch yet, click here to get started.
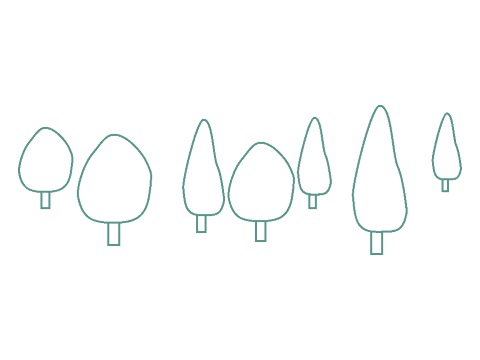
The simplest way to use the vector editor is drawing circles, rectangles, and lines. Click here to get to know these first simple shapes.

Once you master the simple shapes, you can start using the reshape tool to get more advanced ones. Click here to read about the reshape tool.
Are you a master of shapes? Time to make patterns out of them!. Click here to see how to use symmetry and repetition in your images.
First, let us get to the graphic editor of Scratch 3. If you’re already familiar with Scratch, feel free to skip this section.
Go to the Scratch website in your favorite browser (Firefox, Chrome, Opera, Safari, Edge).
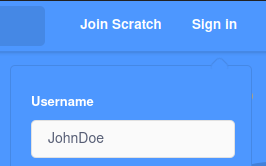
If you don’t have an account yet, create one clicking on “Join Scratch”; otherwise click on “Sign in” and enter your username and password.
Click on “Create” to start a new project.

The Scratch online editor appears. If you want to use it in your own language, click on the globe symbol at the top. Right to the globe, you can name your project:

The cat you see is called Scratchie. Click on the Costumes tab to edit her (or his?) costumes. The graphic editor appears.
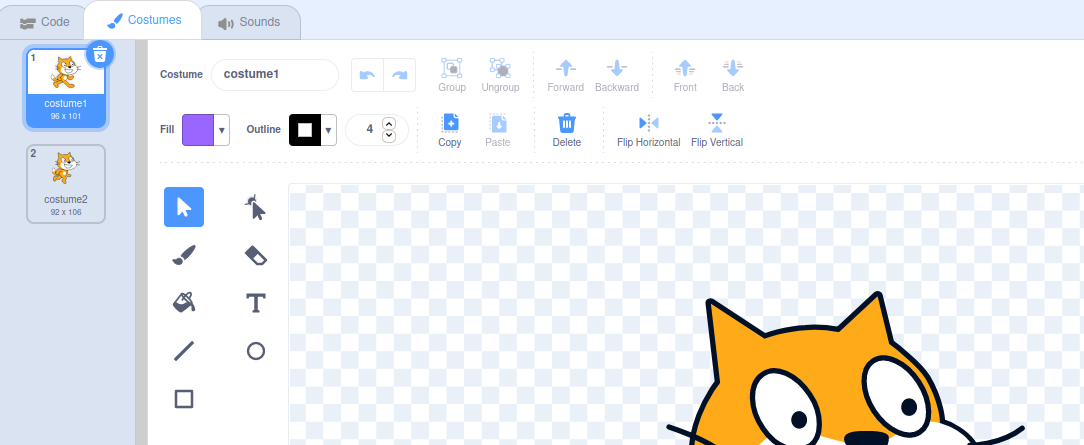
The editor has two modes: pixel graphics (like Paint, Gimp, and Photoshop), and vector graphics (like InkScape and Illustrator). The vector mode is the default one; we will only use this one in this guide.
Let’s begin with dressing up Scratchie. Click the Fill tool and choose your favorite color using the three sliders.

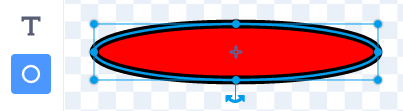
Click the Circle tool, and draw a horizontal oval shape.
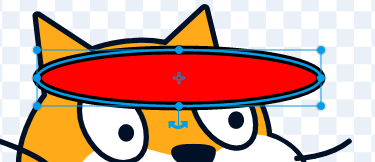
Click the Select tool (arrowhead icon), and drag the oval shape over Scratchie’s forehead.

Draw another, less elongated one, and drag it above the first one. Now Scratchie has a nice cap. Resize the ovals if they are too big or too small dragging them by their corners.
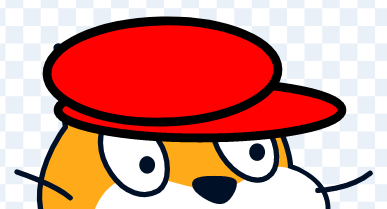
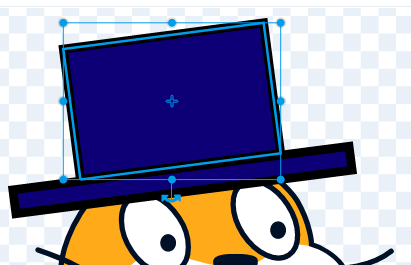
If you prefer hats to caps, you can click the Rectangle icon and draw two rectangles instead.

To make it fancier, you can also rotate the parts of the hat using the curved arrows underneath.
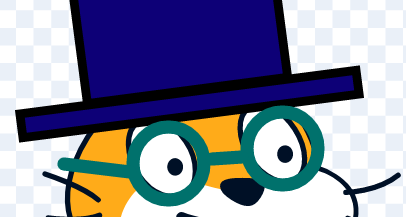
If you change your mind about a color, just click the Fill tool and repaint your shape:
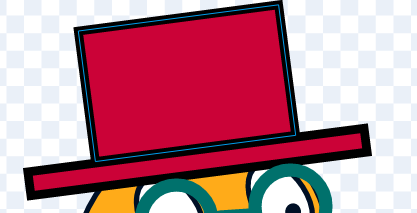
Choosing the transparent option in the Fill tool’s palette you can even add glasses to Scratchie. You can also set the color and the width of the outline. Connect the lenses with straight lines after clicking the Line tool.
And so on; decorate the costume according to your own creative ideas. It is amazing how many things you can draw using just these few shapes: ovals (ellipses), rectangles, and straight lines. Create as many versions as you want.
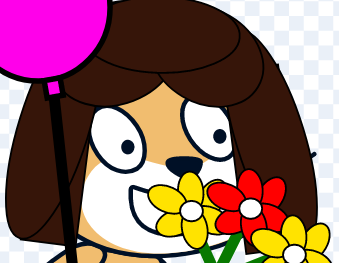
Is the hair of the girl made of more complex shapes? No, it isn’t! You can see it in a version with outlines.
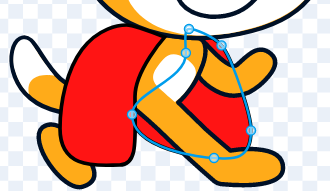
Let’s dress up Scratchie again, but this time using more complex shapes. Just as before, you can start with an oval shape.
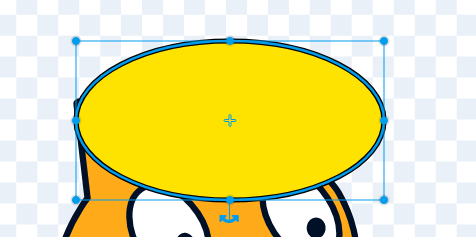
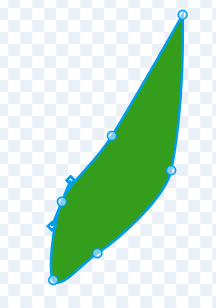
Now click the “Reshape” icon right to “Select”. This lets you move the four blue points on the outline, and thus reshaping the oval.

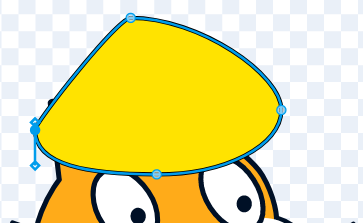
You can add more points by clicking on the outline. When you select a point, you can choose whether you want it curved or pointed by clicking on the icons above:

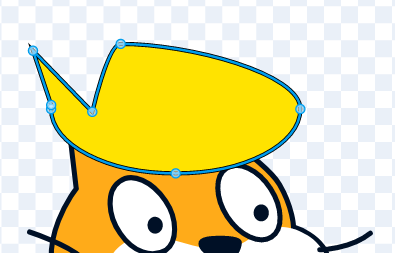
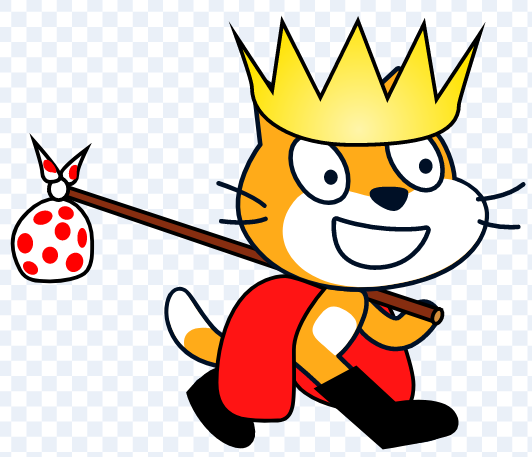
Keep adding points until Scratchie gets a crown.
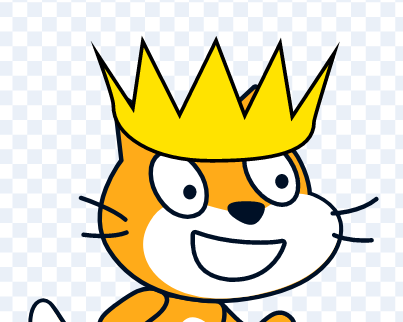
You can add a bit of shading using the gradient options of the Fill tool.

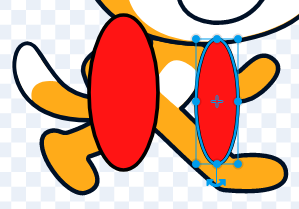
Now let’s add a robe on Scratchie. You can start with two oval shapes, one for each side of the robe.
Reshape it until it starts looking like a robe.
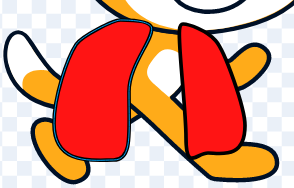
Use the layering tools to move parts in the background or the foreground.
And so on, keep adding new elements until your character is ready.
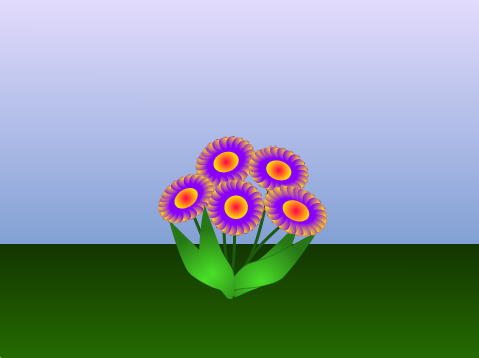
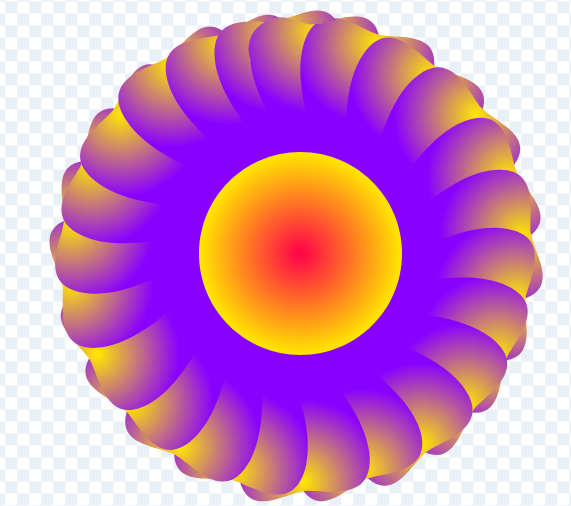
Sometimes you can spare a lot of work reusing your shapes. For instance, you don’t need to draw all the petals of a flower.
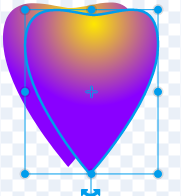
Draw a heart-like shape for your petal. The top needn’t be fully pointed; instead, you can just shorten the two helping lines.
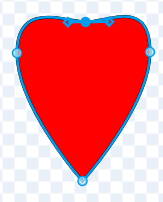
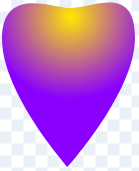
Use your favorite colors to fill it with gradients, and remove the outline by setting its width to 0.
 <
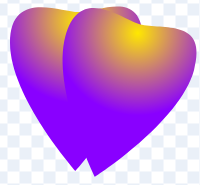
<Now select it with the Select tool, and press Ctrl + C and Ctrl + V on your keyboard (if you have a Mac, Cmd + C and Cmd + D), or click the copy and paste tools above the picture. You get a copy of the petal.
Rotate it a bit, and move near the original one.
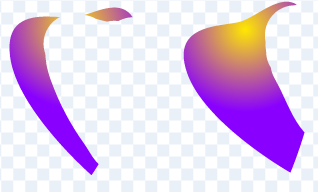
Keep doing this, until you get a full circle.
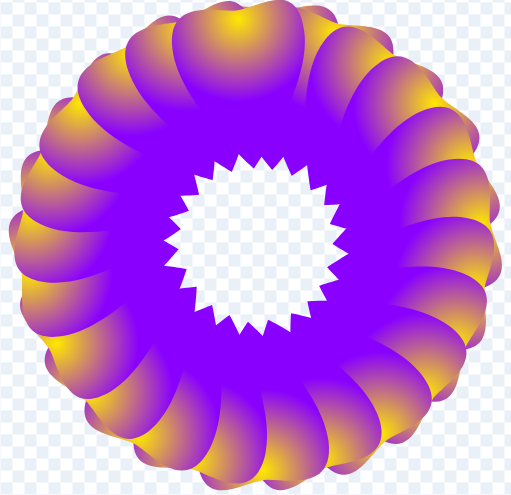
If you want perfectly symmetric flower, you can use the Eraser tool to remove the parts of the last petals that cover the first petal. This move is not very easy though, so feel free to skip it.

Another circle in the middle, and the flower is ready.
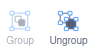
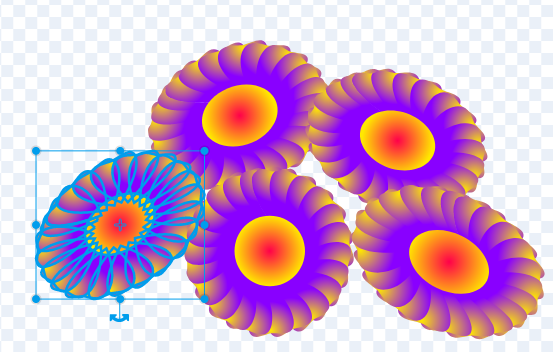
Now you can select, resize, rotate, copy, and paste the whole flower. It is useful to use the Group tool here, so that the flower becomes a single object.
Let’s add a leaf, once again starting from an oval shape, and then using the Reshape and the Fill tool just as we did before.

Copying and pasting the leaves lets you complete the plant.
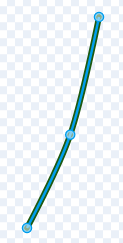
Use the Line tool to draw the stems, adding a point in the middle with the Reshape tool to make them curved.
Finally, you can draw a simple backdrop to finalize your sill life.
It’s easy, isn’t it? :)